In this blog entry, we will take a look at different options you’re facing when designing your fashion blog. If you have already read First Site Guide’s tutorial on how to create your fashion website, you must have already figured out how to give to your website the stock look from the guide. But if you want to explore more possibilities, we have prepared a blog entry especially for the readers of our guides, exploring more:
- how to install a different theme and customize its options;
- how to add an author box to your posts;
- how to render your photo content viral on Pinterest.
- how to add ads to the header section of your website.
Installing the Customizr Theme
The Customizr theme, just as the name says, is a highly customizable theme. It comes with a lot of embedded options, which will save you editing time, and will impress your readership. What is more, many of the elements are based on HTML5, making the theme really responsive and looking great on a variety of devices, from desktop computers to tablets.
This time, unlike in the guide, we are going to demonstrate the installation of your new theme via the search and install function in your dashboard.
1. Go to dashboard.
2. Go to appearance and choose themes.
3. Select add new.
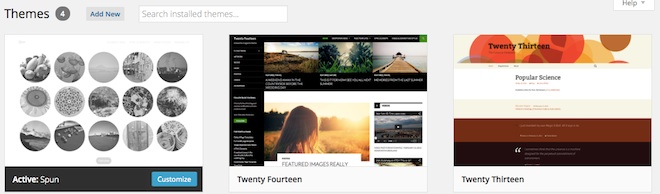
4. In the search field, input Customizr, and hit enter.
5. Once you’re on the search result page, choose install now.

6. With the confirmation of the theme installation, you can choose to preview it with contents from your website, or activate it.
Now you have a new theme installed and activated on your website. Please note that when you already have contents on your website, it may not match 100% the formatting implied by your new theme, and therefore it pays off to change your theme only when you are sure you are not going to compromise your work, and that you’re not actually making any irreversible mistake.
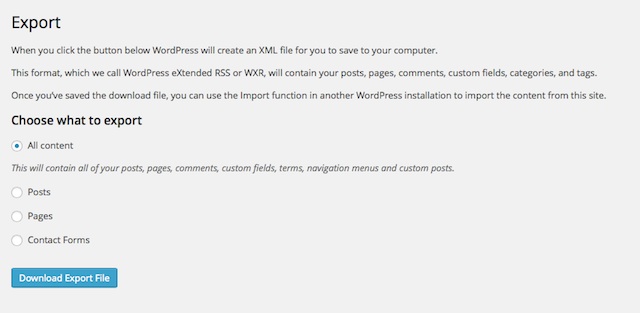
If you have previously set up a theme and written content on your website, it may also be a good idea to make a backup of your original theme and contents.
In order to do so:
- Go to dashboard.
- Select tools, and export.
- Decide what you want to export.
- Select download export file.
If you ever want to come back, all you need to do is to do the opposite of export, i.e. import, from the same section. In order to make sure that you will not have duplicate contents (the import of a former installation does not delete the original posts), make sure to check everything on your website and delete any duplicates.
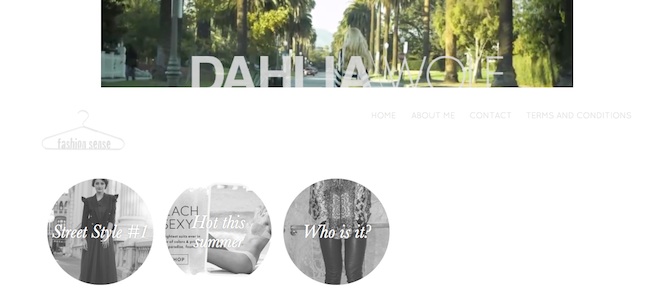
Now that you have your Customizr theme installed, it’s high time you customize it!
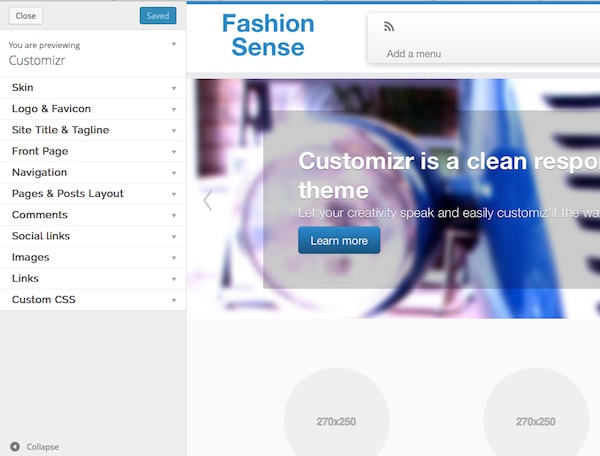
- Go to dashboard.
- Go to appearance and select customize.
- A panel will open with a left-hand side menu for customizations.
- Under skin, select a color pattern that you want to dominate your website. Additionally, (un)check the box for the top border.
- Under logo and favicon, choose the image you want to use, or leave it the way it is. In this second instance, the title you have set for your website under settings will be visible in the place where the logo would have been uploaded.
- Under featured page options, you can select which pages are going to be featured on the first page, which snippet of text to use (from the page or a custom one), and what the ‘read more’ button should read.
- Under navigation, select the menu you want to use as your main one.
- Under pages & posts layout, you can choose whether to have a snippet, or the entire text from your front page posts.
- Under images, you can select the various options (lightbox effect, autoscale, retina support) which will affect the way your pictures will be visible.
- Once you are ready, click on the top blue button that says save & publish.

How to Add an Author Box to Your Posts
Author boxes are great ways to enhance your online presence and stay put in readers’ awareness. They also help you with quick contact and being connected on a multitude of social networks, if you add them to your posts. If you are running the website together with friends, each can have their own author box, and this way, everyone can duly claim ownership of their posts even when the reader does not look for the specific author of the post.
In order to add an author box to your posts, we recommend the plugin Starbox, the installation and customization of which is detailed below.
- In order to install, go to your dashboard.
- From the plugin menu, choose add new.
- In the search field, input Starbox, and hit enter.
- Choose install now from under the plugin description, and confirm your choice with OK.
- Upon the confirmation of the installation process, choose activate.
Now it’s time to customize your author box!
- Go to StarBox under Settings.
- Select where you want the author box to appear (posts and/or pages).
- Select a theme (business, fancy, minimal, etc.).
- Customize the contents of the author box. By default, the author box will take information from your user profile. If there is anything you wish to change in your profile, make sure you access users and your profile to make the appropriate changes.
- Save settings.
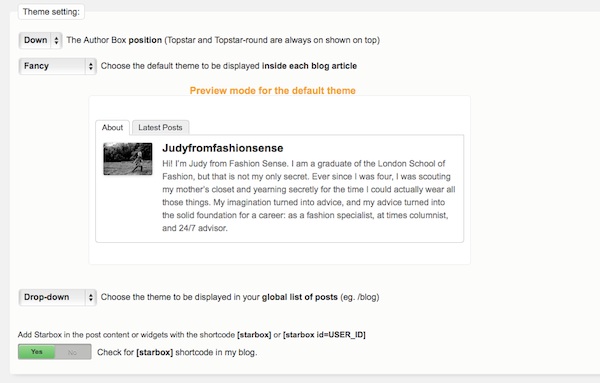
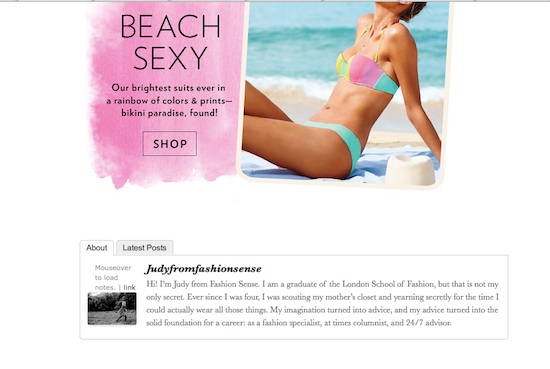
This is how the Starbox author box will surface on your website.
How to Render Your Photo Content Viral on Pinterest
For fashion bloggers, Pinterest is a vital social platform. So many people organize on their boards selections of fashion, in loose or minutely constructed collections, and ‘pinned’ content reaches easily viral proportions. In order to be there, you need to offer to your visitors such an option, to share directly your photo content to Pinterest.
Install the Pinterest Pin It Button, and activate it, like you would do with any regular plugin.
A Pin It button with the Pinterest custom font will appear below your each post. Upon clicking it, users will be presented with a Pinterest panel of all the photos in the respective post, with ‘Pin it’ buttons, which, on being clicked, will place your content on the respective users’ Pinterest boards.

How to Add Ads to the Header Section of Your Website
The header of your website will be the main area where your monetizing needs will be satisfied. Being the top-relevant section of your website, and the first one which your readers’ eyes will chance on, it is important to make it the perfect playground for your ads.
Many themes come with in-built ad areas, but there are, as well, beautiful themes which will not have such a customized area. In order not to throw the baby together with the bath water, why not learn how to create the respective area yourself?
In a first step, you will need to add the versatile Header & Footer plugin from here: http://wordpress.org/plugins/header-footer/
- Install and activate it like any regular plugin.
- Your settings page from the dashboard will now have a new entry, called header and footer.
- In this section, make sure to select the exact area that you want to convert to an ad venue. We recommend the page head,
- In your section of choice, make sure to insert the following code:
<center><a href=”advertiser’s website”>
<img src=”image from your media gallery” alt=”” width=”” height=””></a></center>
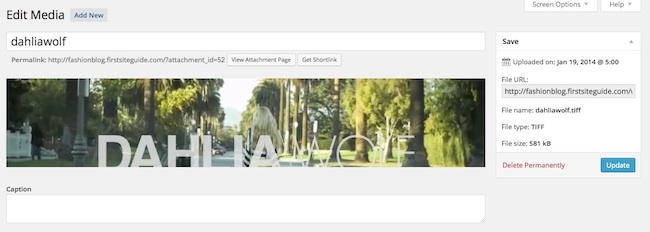
Make sure that you’re not losing any punctuation from the code. The advertiser’s website should be given in full, with http:// and everything, including, if applicable, your affiliate link. The image should be previously uploaded to your media gallery, and you should get the respective photo’s link from the edit media panel, like this:
On saving the changes from the Header and Footer panel, you will have a beautiful top-page ad which will bring you credibility, a strengthened audience, and last but not least will chip in money for you.
Get Started!
Check out our website and look for the free step by step instructional guide on How to Start your own Fashion Blog. Find out yourself how easy it is to become a top fashion blogger using our tips provided within the tutorial and see what other expert fashion bloggers are saying is the key to success!
Top image ©GL Stock Images


